Ah, Easter is here! A time when green plastic grass and watery paints have a habit of making our homes extra festive — and for a bit longer than intended. If you are particularly tired of dealing with Easter egg dying kits and the inevitable mess they create, we found a creative idea to come to your rescue.
By using your home printer and printable temporary tattoo sheets, you can reduce the mess to a pile of paper clippings while making the designs look better than ever.
Follow the step-by-step instructions below to make your own gorgeous Easter eggs quickly, easily and with almost no mess.
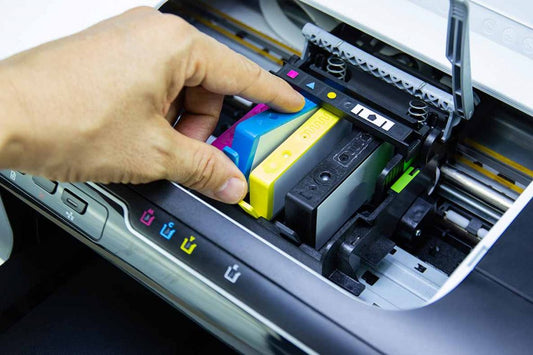
Buy Temporary Tattoo Printer Paper and Make Sure You Don’t Need Las Vegas Printer Ink Replacement or Toner
Your first step is to ensure that your printer is working and has the right amount of ink and toner. You can print a test sheet to see if you might need printer repair or Las Vegas ink cartridge replacement.
If you are sure your printer works, you can go out and purchase printable temporary tattoo sheets like these or order some online. These sheets use a special surface to safely transfer normal printer ink onto the skin, but they also happen to work great on the porous surface of eggs!
Find Some Fun, Cute or Pretty Easter Designs
Once you have the needed paper and a working printer, you can download images to print out and stick on your hard boiled Easter eggs.
Your images are going to have to be small enough to lay upon a typical large egg you would buy at the grocery store, so try to stick to designs that are 2.5×2.5 inches (180×180 pixels). You can edit a bunch of images together or shrink them down using the graphics editing program your computer came with or a free editor like GIMP.
Also, pick designs that can either be mirrored, or go ahead and “mirror” them using a flip or mirror tool in a photo editor. For instance, if you want your egg design to have text, you will have to have the text printed out backwards so that it can transfer the right way.
You can look here for a sample design template in pdf format.
Print and Trim
Once you have printed out all the sheets you want to use, you can trim the tattoo down to the proper size. Remember that if your tattoos have a blank or a white background that they will not show up on white eggs, so you do not have to trim too closely.
To set this activity up for a party or large group of kids, you may want to have a stack of pre-selected and pre-trimmed designs.
Apply Tattoos With Water and a Sponge
This next step will require a dish of pure water and a few tiny sponges. You can use small sponges that come with kids’ craft kits or buy some cheap sponges and cut them up.
To apply the temporary tattoos to the eggs, you are going to have to grasp the eggs somewhat firmly and pick a spot upon it to apply the design. Then, take your cut-out design, remove the top film, and lay it upon the surface.
Wet the back of the tattoo gently but thoroughly with a sponge until it is completely saturated. Then, hold the sponge over the back of the tattoo for about 10-20 seconds. You can then lift or slide off the paper backing to reveal your design!
Let the design air dry for a minute or two before touching. Then, your egg is ready for display …or even a festive mid-day snack! Salt and vinegar, anyone?
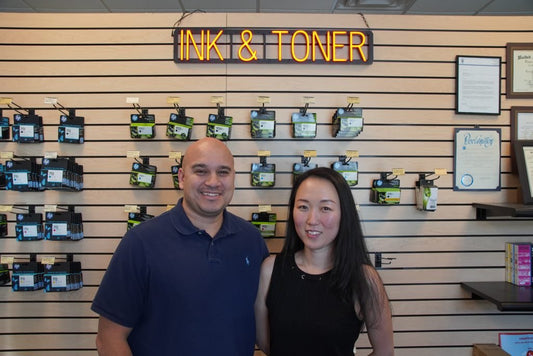
If you encounter any printer troubles during your craft activity or need an ink cartridge refill in Las Vegas, then remember you can count on us at Vegas Ink and Toner for all your needs!