Laser printers can provide sharp, crisp text and high-quality printouts. They can also last for many years if properly maintained. One of the most common issues with these printers is a lousy printer drum. However, did you know that many “bad” drums are just dirty and can be cleaned out? Extend your printer’s life and save money with this easy method that will clean your printer drum out thoroughly!
What Makes a Printer Drum Dirty?
A printer drum gets dirty because of one thing: toner. The job of a printer drum is to transfer the toner from the cartridge to the paper. The toner cartridge places the toner on a roller that’s part of the drum. The drum then rolls the ink onto the paper and uses heat or light to secure it. As the drum unit does its job, toner naturally sticks to it, becoming soiled. This results in reduced performance or sloppy printing.
How Do You Know When It’s Time for a Cleaning?
Many people think their toner drum has gone bad and pay hundreds of dollars to fix or replace it. In reality, it’s just time for a good cleaning. You’ll know the drum is dirty if you notice that the print quality has become blurry and features blank spots or oddly-colored spots despite having full toner cartridges. Horizontal lines across the printout when the paper passes over a dirty area are another sign that it’s time for some maintenance.
How to Clean a Printer Drum, Step-by-Step
To begin, shut off the printer and disconnect it from your computer before unplugging it. These are necessary safety steps to protect you and your printer from power surges. Next, prepare your work area. You’re going to get toner all over the place, so lay newspaper down to protect the surface. It’s also a good idea to wear gloves and a protective mask.
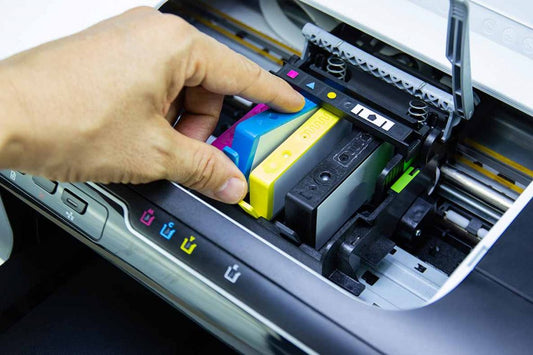
Remove the toner cartridge and set it aside, then remove the drum. This process is different for every printer, so check your documentation. Use an activated toner cloth, stretched tautly, and carefully wipe down the drum exterior to remove loose toner. Then use a cotton ball saturated with 99% pure isopropyl (rubbing) alcohol. Clean any patches of stubborn toner still attached to the drum.
Use toner cloth or lint-free microfiber to clean the print rollers. Use a soft-bristled paintbrush to remove toner from the crevices and corners, then wipe down the inner walls and floor with a toner cloth. When you’ve done all this, visually inspect the drum, then put it back into the printer. Wipe down the toner cartridge with a toner cloth, then return it to the printer as well.
Close up the printer, plug it back in, reconnect it to the computer, and dispose of the newspaper. Then print a test page to make sure everything is working correctly.
If you’re still having problems, a professional may be able to help. Contact Vegas Ink and Toner or give us a call today!