Every few months, it’s essential to change the oil in your car so your car can run smoothly. While printers may not be as complicated as cars, the idea of regularly keeping up with their maintenance to ensure they run without issues is the same. Printers are machinery with moving parts. These parts can break or clog, affecting your printer output. One of the most common areas inkjet printers have issues is the printhead. Our team here at Vegas Ink & Toner is here to teach you how to clean your printhead and avoid printing problems.
What Does the Printhead Do?
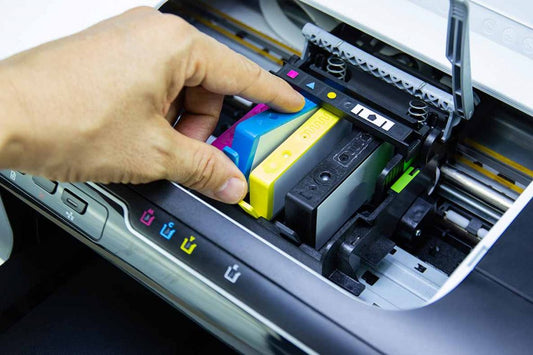
The printhead is a piece of machinery that houses the ink cartridges. The printhead can be different sizes depending on the individual machine you have. This component location is in an easily accessible area, such as right under the main cover. Its responsibility for holding the ink cartridges comes with an unfortunate side effect: so much ink flows through and can eventually lead to build up and clog.
Cleaning the Printhead Boosts Your Printer Quality
No one wants to spend money on a printer to have poor quality images. Inkjet printers are known for the beautiful output, but if you allow the printhead to clog, the quality goes way down. In many cases, a backed-up printhead can cease printing altogether. Avoid frustration by making sure the printhead is thoroughly cleaned before you notice a significant decline in your image quality. Cleaning the printhead uses up a lot of ink, so it is costly. Wait until you can visibly see a decline to clean. Once you notice this decline, don’t hesitate to run through the steps. If your printer is skipping specific colors or splattering ink where it doesn’t belong, and you don’t clean it, you could end up with a broken component.
Cleaning Your Printhead from Your Computer
Technology has advanced far enough that most printers on the current market are cleaned remotely. Your home or office printer probably has a self-cleaning mechanism. Check by going onto your computer’s control panel, in the printer settings. Select your printer to view utility options. if you see a choice called Nozzle Check, do that one first. This will print a single page with all the colors your printer uses. If the colors come out with no streaking or skipping, you don’t need to clean the printhead. If there are visible issues, head back to the computer for the next step. Go to the tools tab in your printer maintenance menu. There will be a clean option and may say additional details, such as a clean printhead or maintenance clean. Follow the prompts your computer provides to clean your printhead thoroughly.
Manually Cleaning Your Printer’s Printhead
If your printer does not have a built-in option, don’t worry! You can clean the printhead manually. Start unplugging the printer and removing the ink cartridges. Set them on a paper towel in case of leaks. Pull out the printhead, which is where the cartridge sits in. Soak the entire component in a large bowl of water for a few minutes to break up any dried ink. Remove it, dampen a microfiber cloth with water, and gently dab off any ink until the entire printhead is clean. Allow the printhead to completely dry before reinserting the printhead into your printer then, place the cartridges in their original space, plug the printer back in, and you’re good to go!
Maintaining A Clean, Functioning Printhead
Cleaning the printhead at the right time is a delicate balance. You don’t want to wait too long to clean it and risk damaging the printer, but you also don’t want to run the whole process unnecessarily. Take the guesswork out of when to clean the printhead by signing up for a maintenance program. This is regularly scheduled professional printer maintenance will ensure your entire machine runs smoothly for as long as you have it.