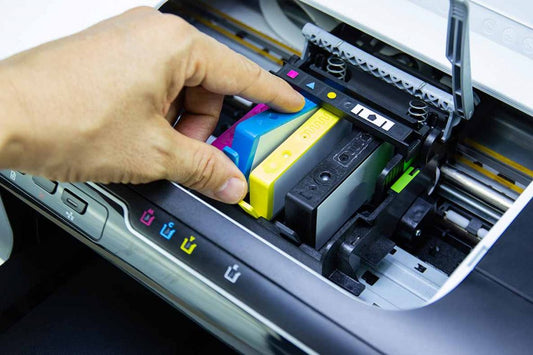
If you’re anything like us, you’re starting to get excited about seeing Christmas decorations in the stores already. There’s no shame in loving the holiday season, but there’s no secret that your love can get expensive. With gifts to purchase, parties to throw, meals to cook, and pajamas to buy, the holidays can quickly rack up the credit card bill if you’re not careful. There are ways to save money during the season, and one of the ways that we find the most useful is using your home printer to print holiday cards. Purchasing holiday cards at a store or a professional printers means that you’ll be spending a few dollars on each one, but doing it at home is just pennies. Here’s our quick guide on how to print the best holiday cards this season.
First, focus on design. Some people love having a Christmas family photo, and some opt for a more text-based look. Whatever your vision is, there are plenty of designs on the internet that you can customize. Using a free program to lay out your ideal look is a good start to creating a beautiful holiday card. Once you’ve got the layout down, you can fine-tune the look in an editing program on your home computer, or you can download it and get ready to print.
Choosing a good card stock is the most essential step to printing the best holiday cards. Paper comes in all shapes and sizes, and most home office stores stock pre-perforated cards that run smoothly through any printer. We find that high gloss works best with photograph-based cards, and a matte look can lend a high-end touch to text-based holiday cards. Be sure to check the paper thickness against the manufacturer requirements of your home printer, as some printers are not able to run thick card stock. A good rule of thumb is to run a few samples through before committing to a large purchase, to ensure you’re happy with the printing quality, ink transfer, and paper thickness.
Once you have your design ready and your paper is chosen, you can print off a few samples. Some inkjet printers will need to run a bit more slowly when doing cards, as the paper can jam and the ink can smear. It’s important to note that we always recommend doing the inside of cards first. By printing the inside of cards first, you only run the photo side of paper through your printer once, which limits any scratching that may happen to the card. When you run through the photo side of your card, make sure that the front runs through first. The initial ‘start’ of a printer tends to be when the ink comes out most clearly, which leads to a higher quality look.
Don’t be afraid to experiment with different paper types, output settings, and design looks when creating your own holiday cards. A card is something that shows your personality to the recipient, and creating the perfect look is entirely up to you. Your home printer can do a variety of different sizes, papers, and colors – so get creative with it!


